


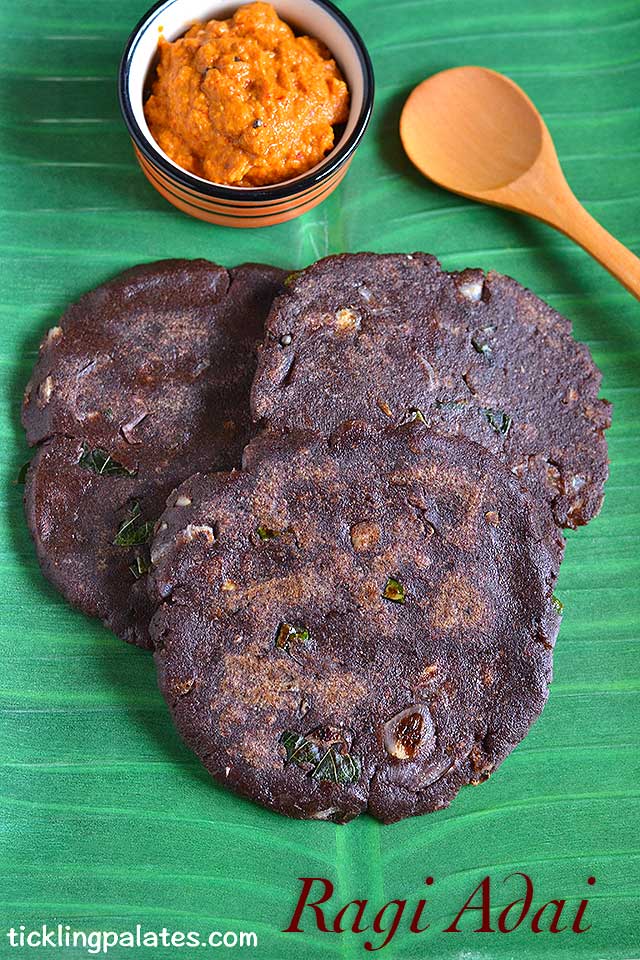
Ragi Adai recipe or Kezhvaragu Kara Adai with step by step photos. This Ragi Adai is the spicy version that is made using finger millet flour (Nachchni in Hindi) which is usually made for breakfast or dinner. A healthy and wholesome breakfast especially for people with Diabetes.
Making a mean ragi adai that does not resemble a freaking frisbee which is difficult to swallow let alone chew in itself is a challenge. This is my Mom’s recipe which comes out really soft and during the school days she used to make this at least once a week for dinner.
Though its a very simple recipe, it is important for the flour to get cooked well else some people may experience flatulence or indigestion. Also some people prefer to add onions as such without cooking, but it will start leaving out water when you rest it for some time, making the dough super sticky and impossible to pat the dough into adais.
I follow this recipe for ragi adai and store the dough in the fridge overnight and love having it for a lonely lunch at home or for my after yoga routine breakfast. A good half hour resting time outside the fridge is enough for a softer and moist adai.
Our Favorite Video:
I prefer spicy chutneys to go with ragi adai usually than the quintessential coconut chutney. So I had it with maa inji chutney. A tangy tomato thokku will also taste divine with it.
Ragi Adai recipe with step by step photos:
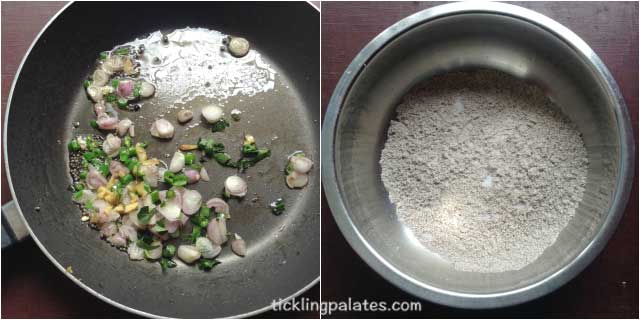
1. Heat a pan with oil. Add mustard seeds and let it splutter. Add urad dal, asafetida and cook for 10 seconds. Add onions, ginger, green chili, curry leaves, a pinch of salt and cook till the onions turn translucent.
2. In a mixing bowl, mix together ragi flour and salt.

3. Transfer seasoning to the flour mix and mix with your finger tips distributing evenly.
4. Heat water in a bowl to a rolling boil. Add 1/4 cup water first and mix with a spatula to form an uneven lump and keep the bowl closed for 5 mins.
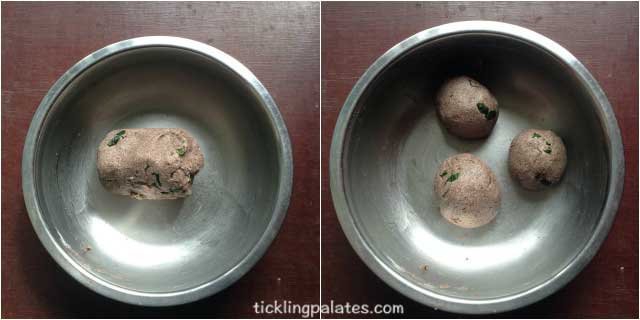
5. Adding more water little by little if required, using your hands knead into a soft dough.
6. Divide into 3 equal orange sized balls. At this stage you can refrigerate the dough for a day or two.
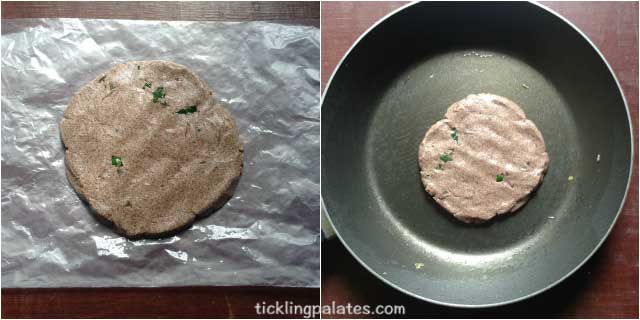
7. Grease a plastic sheet or a plantain leaf with oil. Place the ball on it and pat into 5 inch diameter discs. Make sure the adai is neither thick not thin.
8. Heat a griddle and transfer the adai to it. Drizzle few drops of oil around and let it cook for 2 mins over low flame.
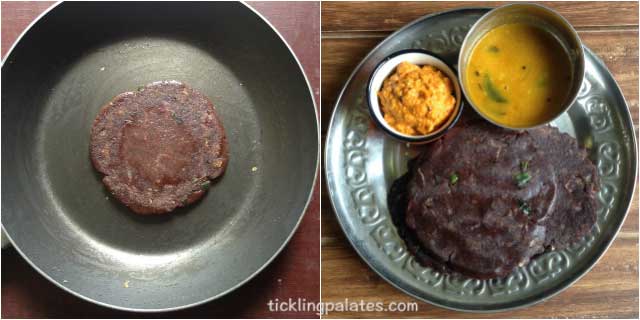
9. Flip it over and let the other side cook too for 1 min.
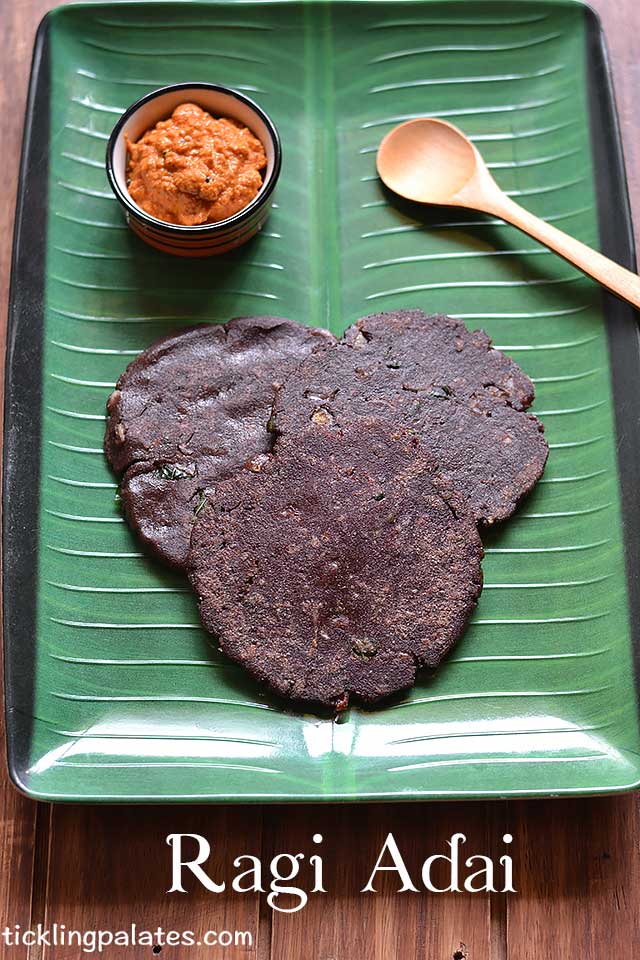
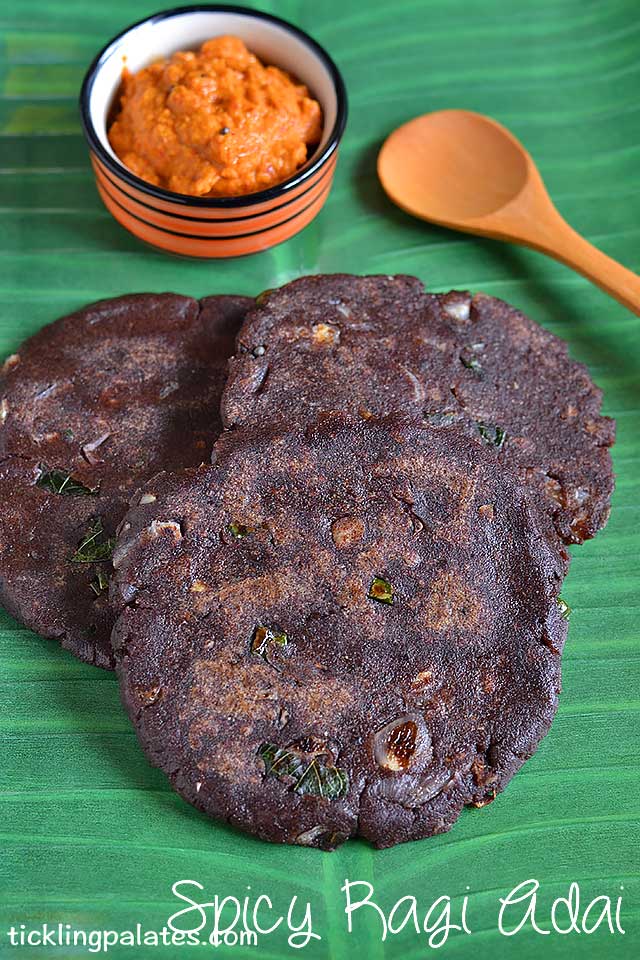
10. Spicy Ragi Adai is ready. Transfer to a plate. Serve with chutney or pickle of your choice.
Ragi Adai Recipe details below:

Ragi Adai Recipe - Spicy Finger Millet Adai
Ingredients
- Ragi flour - 1/2 cup
- Sambar onion - 8
- Green chili - 1
- Curry leaves - 1 sprig
- Ginger - 1/4 inch piece
- Salt - to taste
- Water - 1/2 cup approx.,
To temper:
- Mustard seeds - 1/2 tsp
- Urad dal - 1/4 tsp
- Asafetida - 1 pinch
- Oil - 1 tsp
Instructions
Preparation:
- Peel and finely chop sambar onions. Slit the green chili, remove the seeds and mince it finely.
- Grate the ginger and keep aside. Finely chop curry leaves.
To make Ragi Adai:
- In a mixing bowl, mix together ragi flour and salt.
- Heat a pan with oil. Add mustard seeds and let it splutter.
- Add urad dal, asafetida and cook for 10 seconds.
- Add onions, ginger, green chili, curry leaves, a pinch of salt and cook till the onions turn translucent.
- Transfer to the flour mix and mix with your finger tips distributing evenly.
- Meanwhile heat water in a bowl and bring it to a rolling boil.
- Add 1/4 cup water first and mix with a spatula to form an uneven lump and keep the bowl closed for 5 mins.
- Adding more water little by little if required, using your hands knead into a soft dough.
- Divide into 3 equal sized balls.
- Grease a plastic sheet or a plantain leaf with oil.
- Place the ball on it and pat into 5 inch diameter discs. Make sure the adai is neither thick not thin.
- Heat a griddle and transfer the adai to it.
- Drizzle few drops of oil around and let it cook for 2 mins over low flame.
- Flip it over and let the other side cook too for 1 min.
- Spicy Ragi Adai is ready. Transfer to a plate.
- Continue with the other balls to make 2 more adais.
- Serve hot with any chutney of your choice or with pickles.


Mrs Prabu
Great recipe - well explained!