


Adai Recipe with step by step photos. Adai made with rice, mix of dals (lentils), murungai keerai (drumstick leaves) is highly nutritious and protein rich. Its served either for breakfast or dinner usually along with Aviyal, coconut chutney, jaggery and butter to make a wholesome and balanced meal.
We call it as a “Orappadai” which is “Orappu” (spicy) “Adai” which is to differentiate it from other types of adai. My Grandma makes delicious, spicy adais as that’s how we love at home. She used to grind both the rice and dal separately and later mix both together and never fancied batter made in a mixie jar.
The adai used to be so thick in size, crisp on the outside with a soft and spongy centre that we kids used to munch on it all day long whenever we felt like snacking after playing. I still could not think of a better snack that is highly nutritious for the kids.
Normally We soak the ingredients after lunch, grind the batter between 4 and 5 in the evening, rest the batter for 2 to 3 hours and make adais for dinner. Any left over batter can be stored in the fridge and can be used for breakfast the next day.
Though you can make adais immediately after you grind the batter, the texture and taste turns out great when you rest the batter for at least 1 to 2 hours. You can also keep the batter to which salt has not been added in the fridge for 2 to 3 days, Just make sure that you have not added onions or anything else.
Our Favorite Video:
Instead of Murungai keerai, you can use curry leaves or coriander leaves or a mix of both. Adjust the quantity of red chilies according to your taste, though this quantity is what should be used, to prevent the adais from tasting bland.
Adai Recipe with stepwise photos:
1. Take both rice together. Wash and soak in enough water for 3 hours.
2. Take all the dals in a bowl. Wash and soak in enough water for 3 hours.
3. Soak whole dry red chilies in warm water 30 minutes before grinding adai batter.
4. Grind the soaked chilies and asafoetida to a coarse paste first.
5. Add the drained rice and adding water little by little, grind to a coarse paste. Transfer to a bowl.
6. Add drained dal and adding enough water, grind to a coarse or smooth paste. Transfer to the same bowl.
7. Beat both batter together to combine properly. Add onions, murungai keerai, ginger, salt and mix well.
8. Heat a tawa, add a ladle full of batter and spread around by patting with the flat side of the ladle. Drizzle oil around, cover with lid and cook for 1 to 2 mins till crisp.
9. Gently flip and let the other side of the adai get cooked as well.
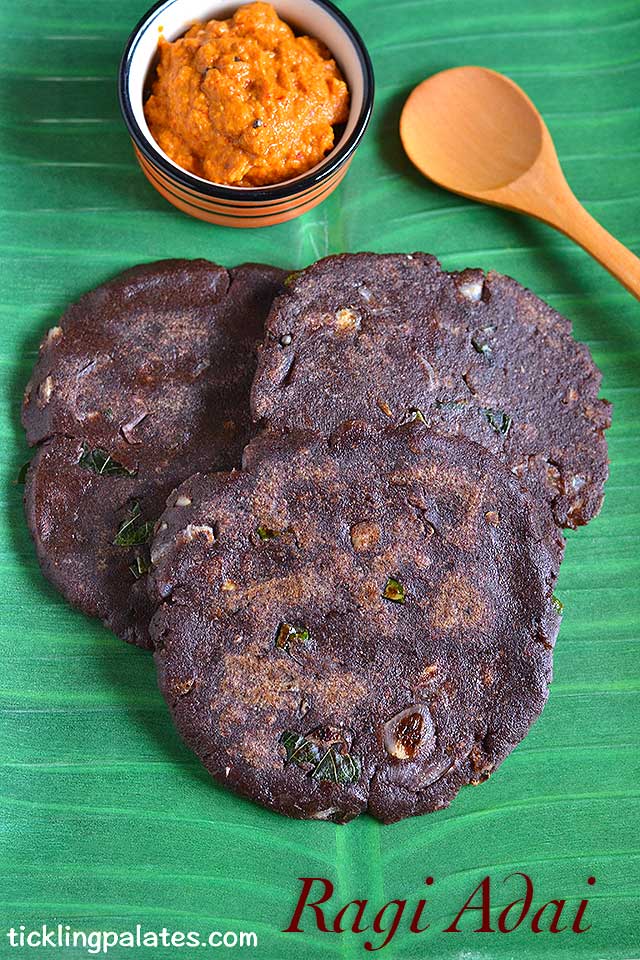
At home, we are partial to Aviyal, so I always serve this piping hot adai with coconut chutney. You may also like this Brown Rice Adai and Ragi Adai.
Adai Recipe details below:

Adai Recipe - Murungai Keerai Orappadai Recipe
Ingredients
- Raw Rice – 1 cup
- Idli Rice – 1 cup
- Channa Dal or Kadalai Paruppu – 1/2 cup
- Tur Dal or Tuvaram Paruppu – 1/4 cup
- Yellow Moong Dal or Paasi Paruppu – 1/4 cup
- Urad dal or Ulutham Paruppu – 2 tbsp
- Whole dry red chillies – 20
- Asafetida – 1/2 tsp
- Ginger – 1 inch piece
- Onions - 1/2 cup chopped
- Murungakeerai / Drumstick leaves – 2 handful
- Salt – to taste
- Oil – to cook
Instructions
How to make Adai Batter:
- Take raw rice and idli rice together in a bowl. Wash and soak in enough water for 3 hours.
- Take channa, tur, moong and urad dal in a bowl. Wash and soak in enough water for 3 hours.
- Soak the whole dry red red chillies in little warm water 1/2 hour before grinding.
- In a mixie jar, place the soaked red chilies along with little water. Add asafetida and grind to a coarse paste.
- Drain the rice and transfer to the mixie jar. Add little water and grind to a coarse paste. It should be grainy to the touch resembling rava (sooji). Transfer to a bowl.
- To the same mixie jar, add drained dals. Adding little water, grind to either coarse or smooth batter. Transfer to the same bowl.
- Beat well for both the rice and dal batter to get mixed well and to aerate them. At this stage, you can store the batter as such in the fridge for 2-3 days or make adais immediately or rest the batter for 2 to 3 hours before making adai.
How to make Adai:
- Place a tawa on the stove, grease it with oil and make sure that the flame is in medium heat.
- To the batter, add chopped onion, grated ginger, murungai keerai, salt to taste and mix well. Add little water to adjust the consistency The batter should be dropping consistency slightly thicker than the idli batter.
- Pour a ladle full of batter in the middle of the tawa and pat gently using the flat of the ladle to spread the batter. Make a hole in the centre (optional) and drizzle oil all around the adai.
- Close the adai with a lid and let it cook for 1 to 2 mins. Open the lid and gently flip for the other side to cook as well.
- No need to close with lid while the other side cooks for 1 more min.
- Transfer to a plate and continue with the remaining batter to make more adai.
- Serve hot with aviyal, jaggery, butter and coconut chutney.


Looks so delish along with that perfect bowl of chutney ….yum
Wow!! Mouthwatering recipe and pictures!!
No source for drumstick leaves. I did try it with spinach. And added it to the batter and made the adai. It was delicious. The adai here is so golden and crisp. I also used to grind everything together but lately I have found that most bloggers grind the rice very fine and the dal mixture is a little coarse. That works well.
cant take my eyes off it. looks delicious.
its tempting pictures are awesome 🙂
Protein packed Adais..enriched with the nutrition of greens…
Super nutritious and healthy adai.
Dear radhika
How are you ? Clicking Like is not enough at FB..managed to come to your blog after a long time…quickly seeing all that I have missed before I set sail to Africa again.
Very nice recipe and I like the spread in side ..may be will try in JAn
Have a great week
Radhika, Adai looks perfect!! I am drooling..I wish i had this for breakfast today ..You are making me really hungry !!
Wholesome nutritious breakfast. Looks delicious too..Love the clicks.
My mom used to add murungai keerai in adai, but i never attempted as i am lazy in cleaning up the keerai. Tempting adais
Healthy and scrumptious adai. Will try it soon.
wow…im droooling here!!looks amazing!
Amazing pics Radhika!
Aww…keerai afai looks very tempting…nice idea..murungai keerai topped on adai looks very crispy n inviting…sure a flavorful Adai! Inviting clicks Radhika!
This comment has been removed by a blog administrator.
Looks delicious. Do you use skinned urad dal?
Adai is one of my favorite dosa for bfast. I think am going to soak some grains for adai today
Love this… Adding drumstick leaf will add more Healthiness to the healthy Adai…
Mouthwatering! I like your step-by-step pictures too.
Tempting as well as mouthwatering…
Gujaratonnet.com
Very tempting adai. Love it anytime !!
Beautiful Dosa Radhika. I wish thhis goodie come from my kitchen someday 🙂
Just too scared to try a dosa.
My Husband is the designated sous chef when it comes to Dosa
Looks Delicious . Thanks for the detailed step -by-step procedure with beautiful photographs . Hope to try this adai recipe tomorrow along with your recipe for the millige pudi.
K.N.Malathi
Looks Delicious . Thanks for the detailed step -by-step procedure with beautiful photographs . Hope to try this adai recipe tomorrow along with your recipe for the millige pudi.
K.N.Malathi